New and in need of assistance


#1

Hi there,
i am new here and new to OsciStudio.
Though not new to Oscilloscopes or Music in general :slight_smile:

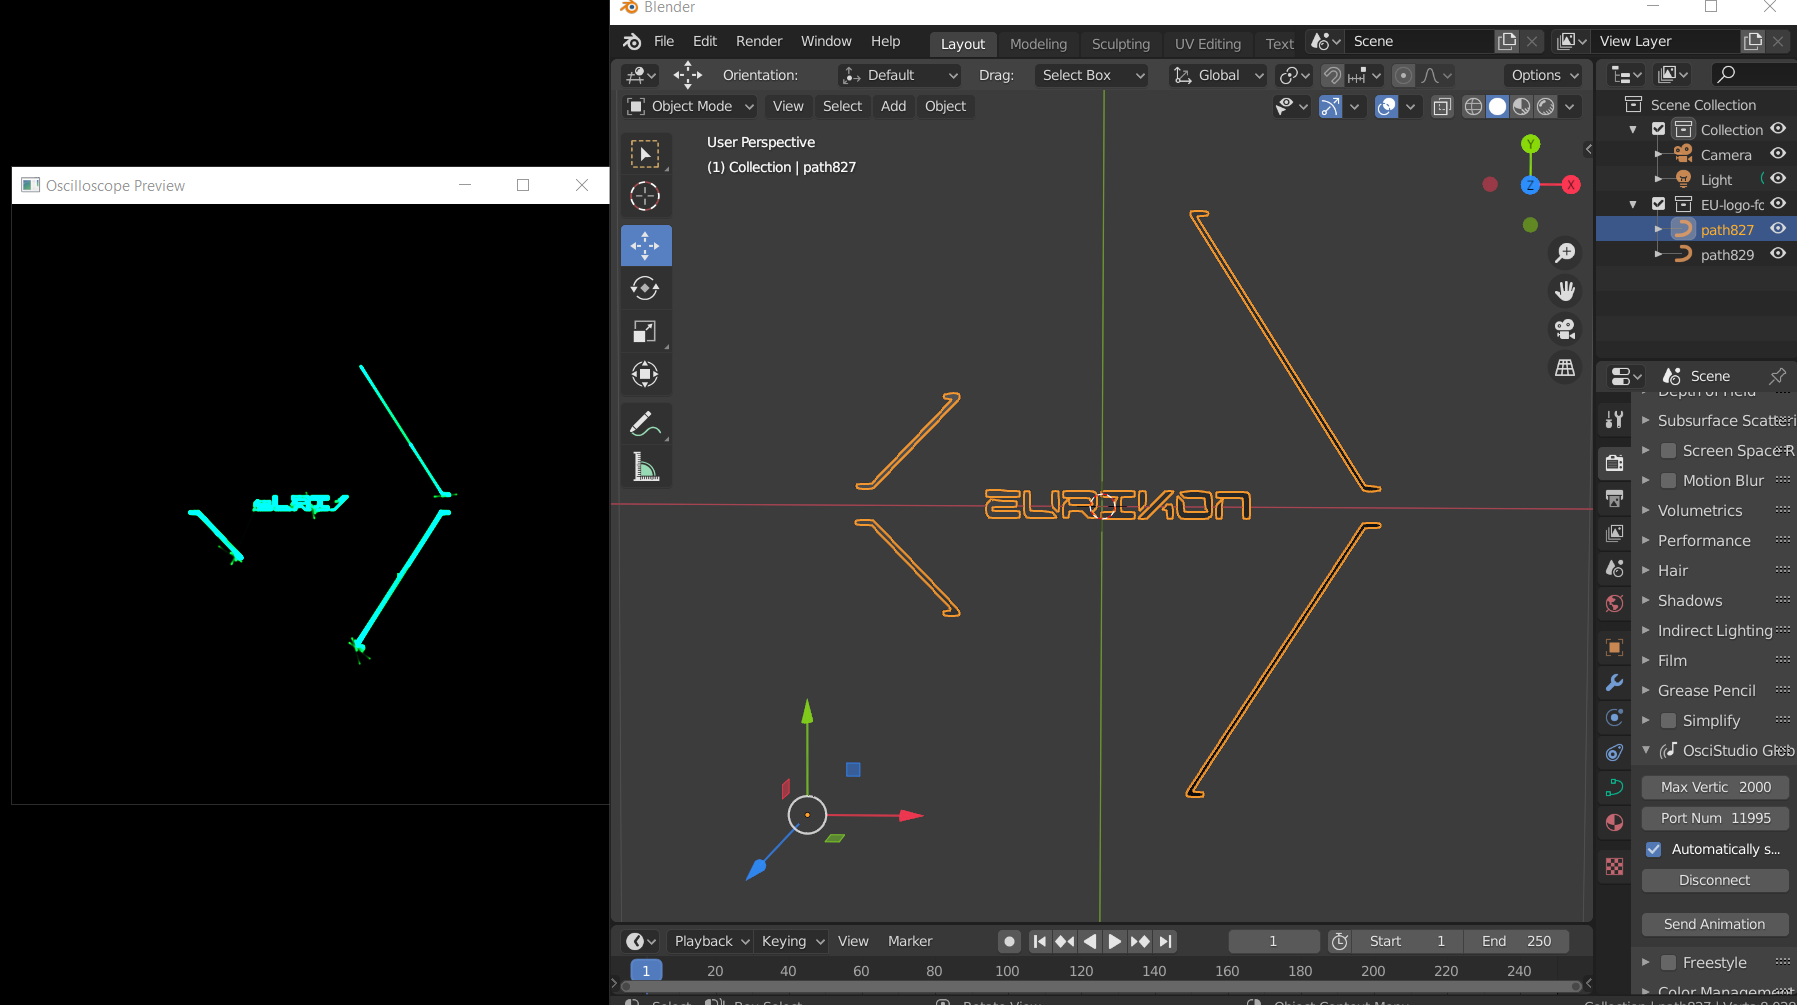
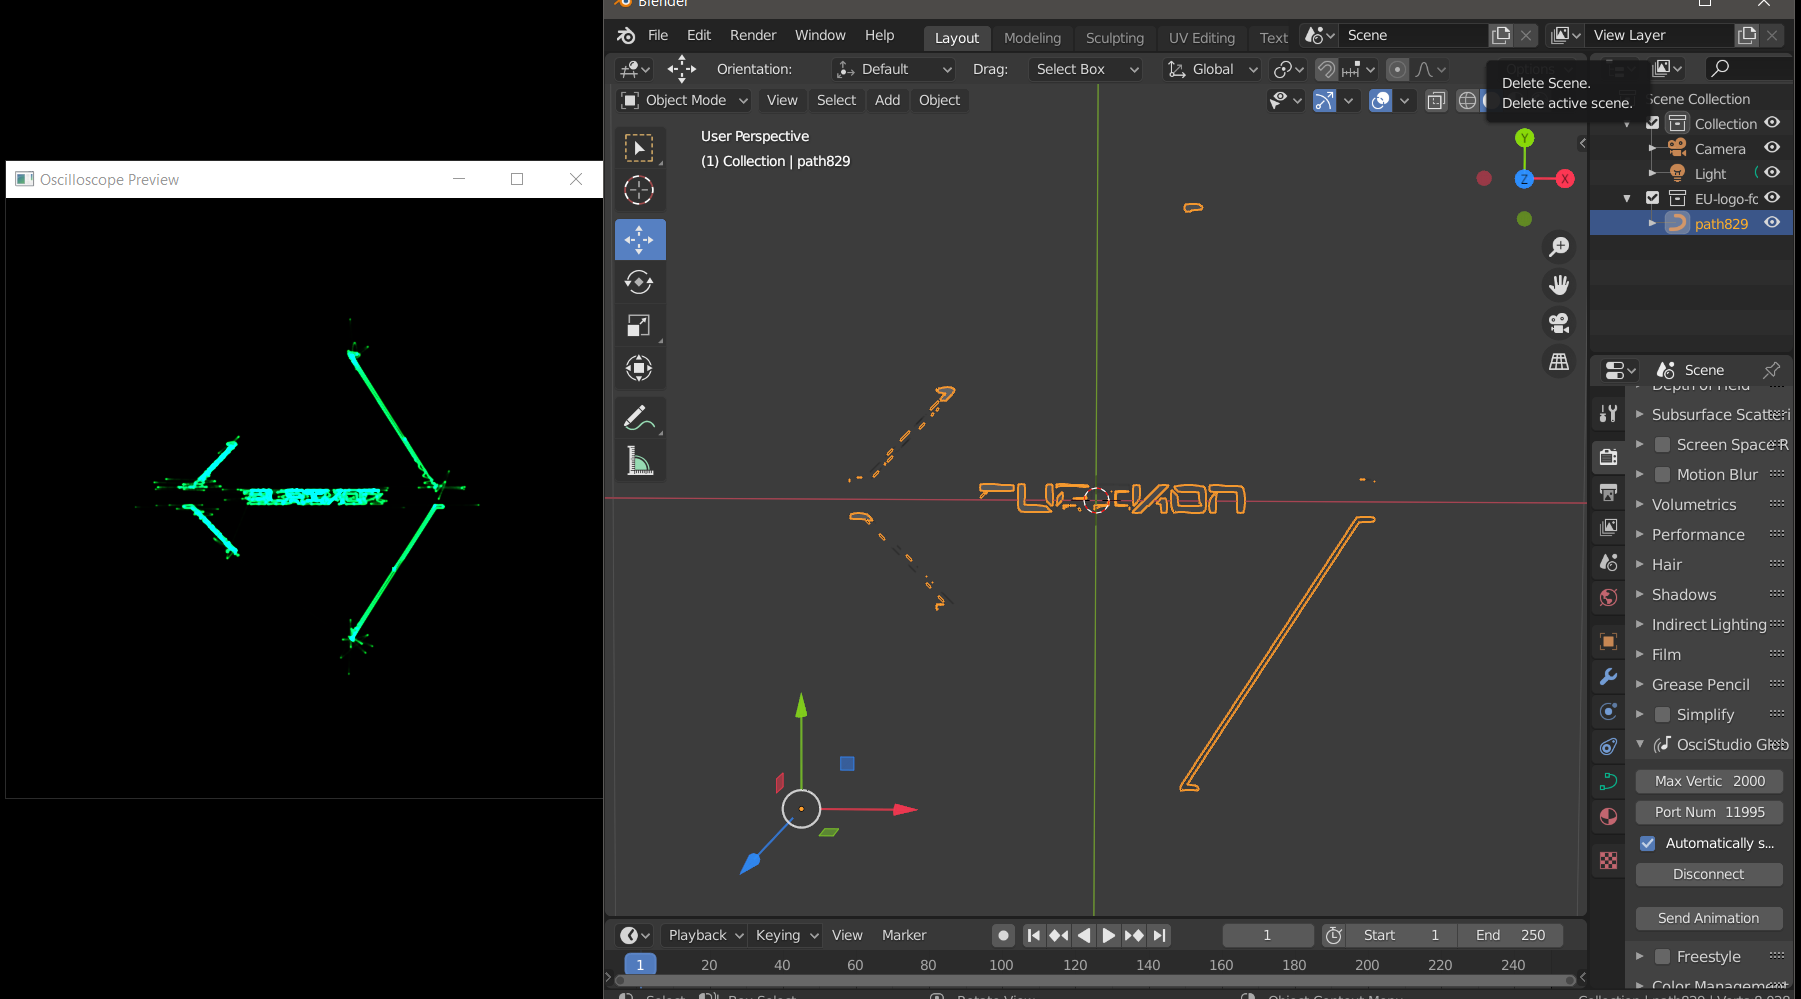
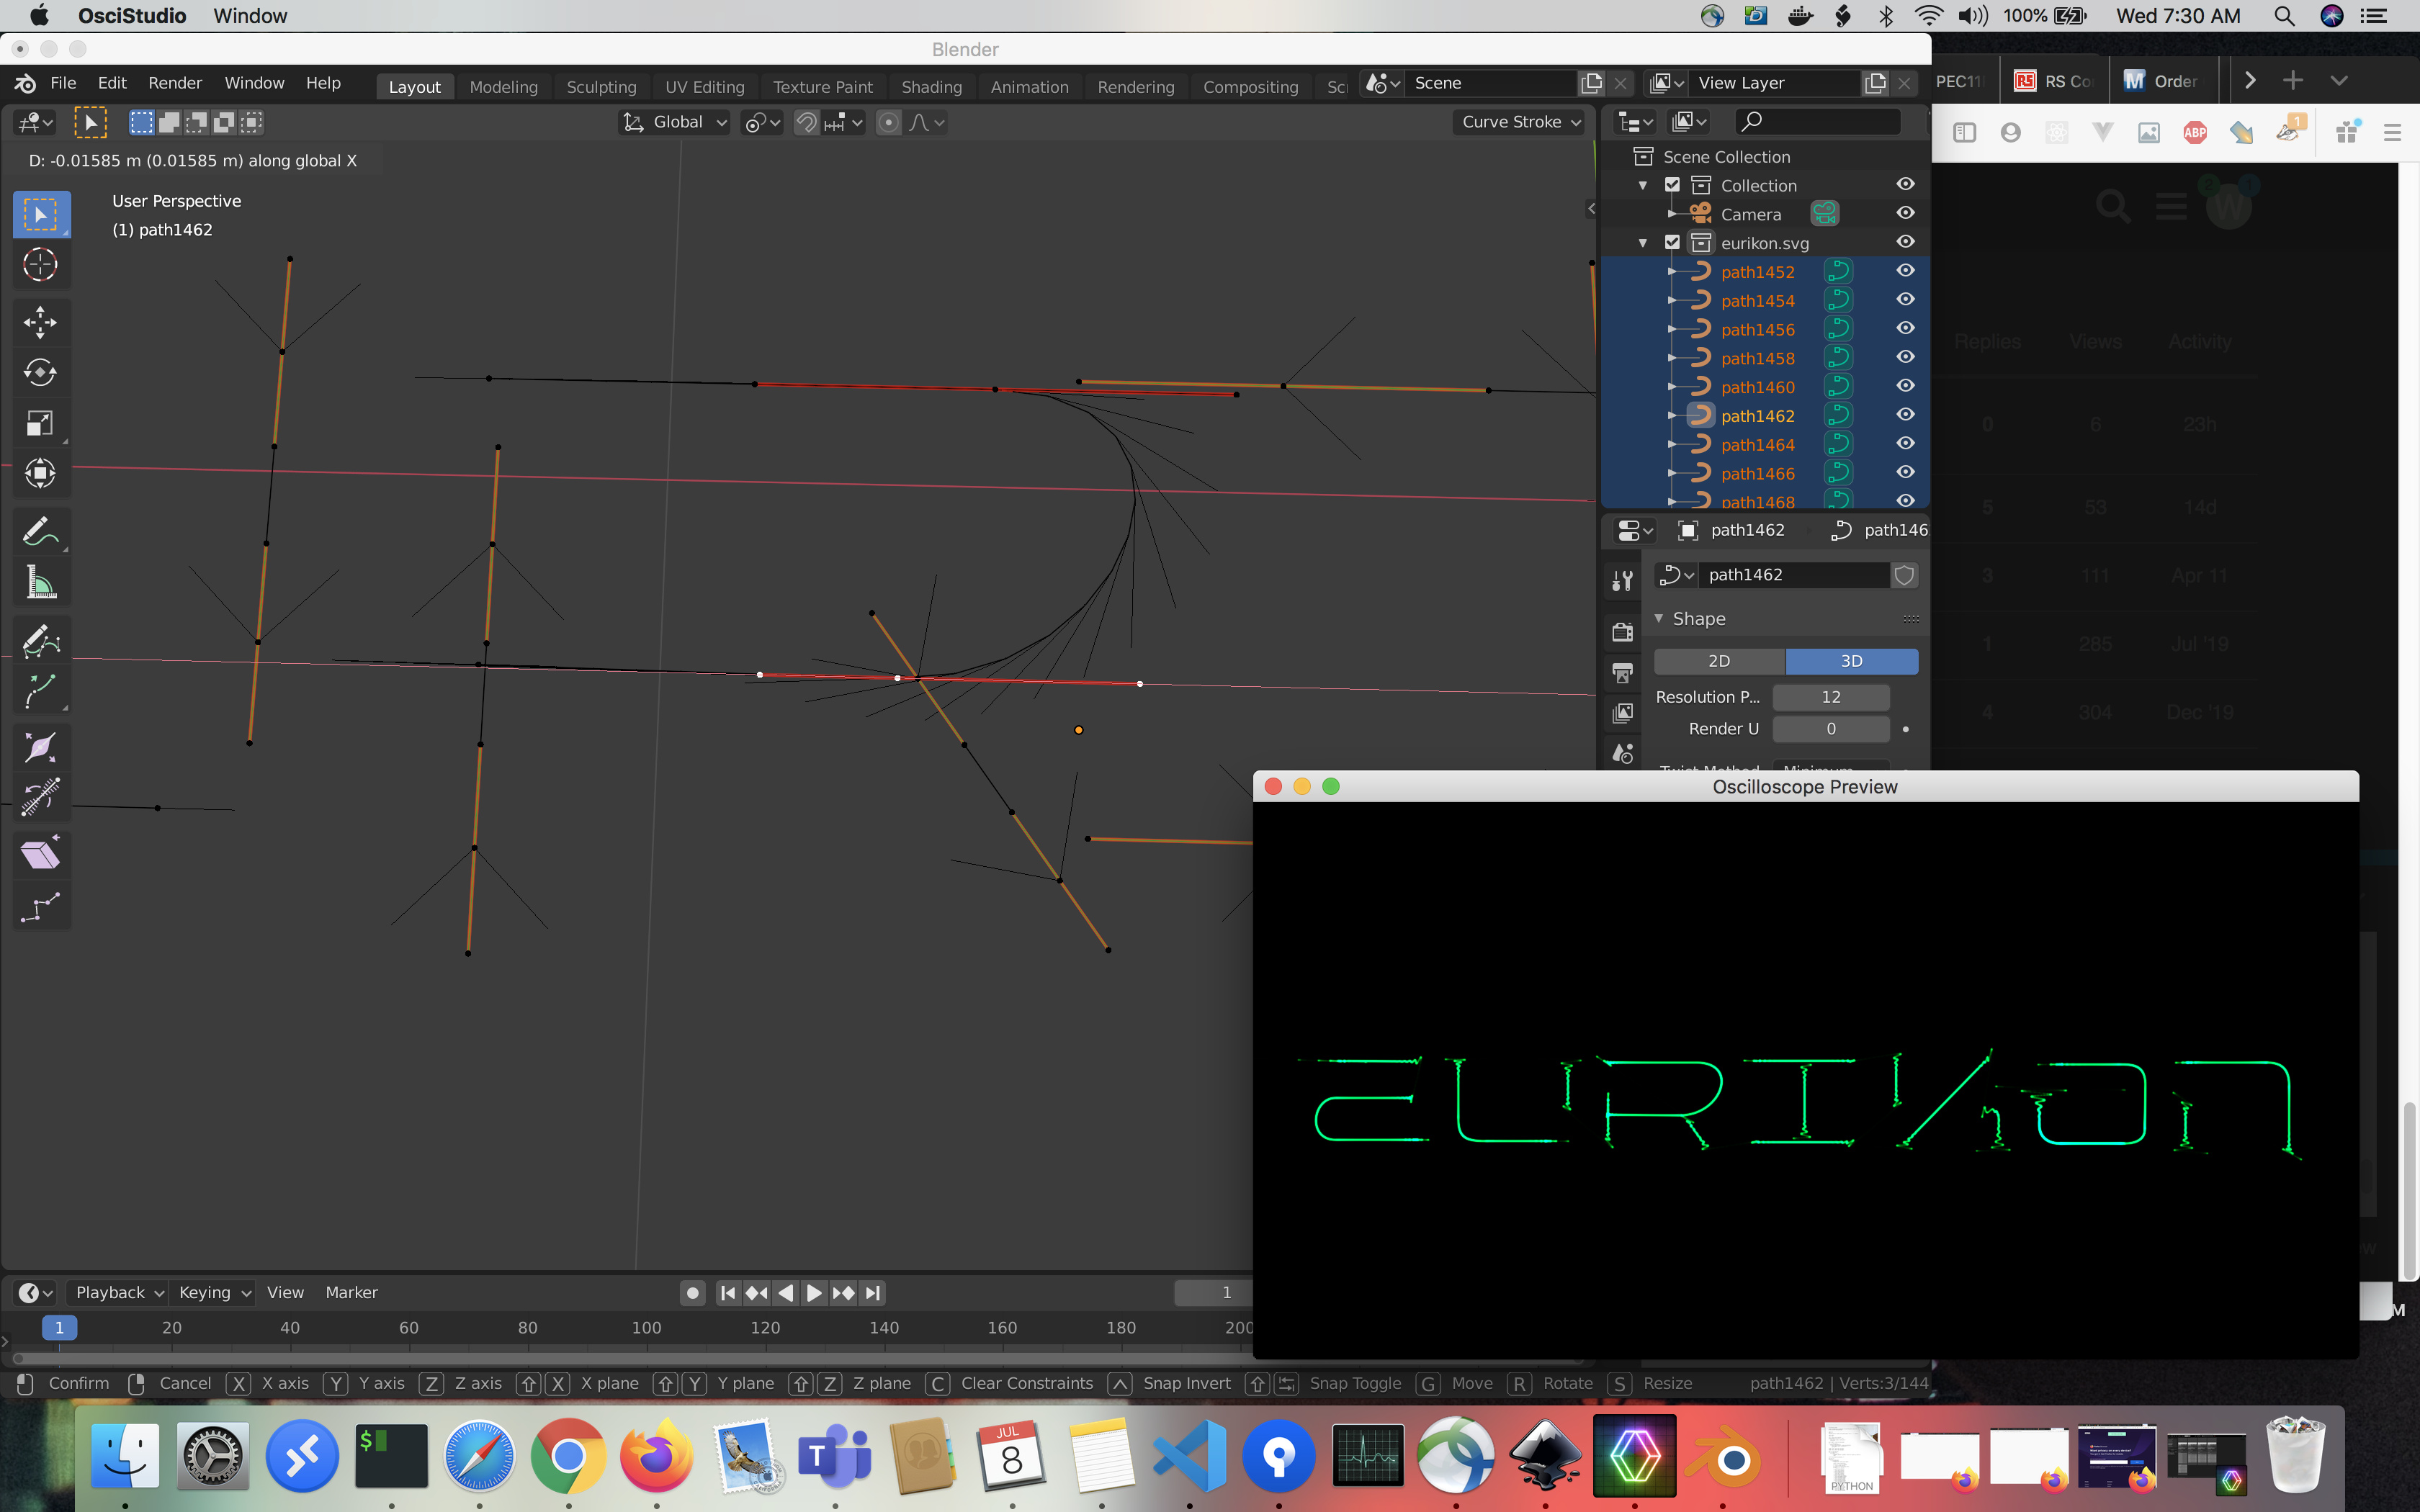
So i am trying to convert my logo into something usable so i can animate it in OsciStudio.
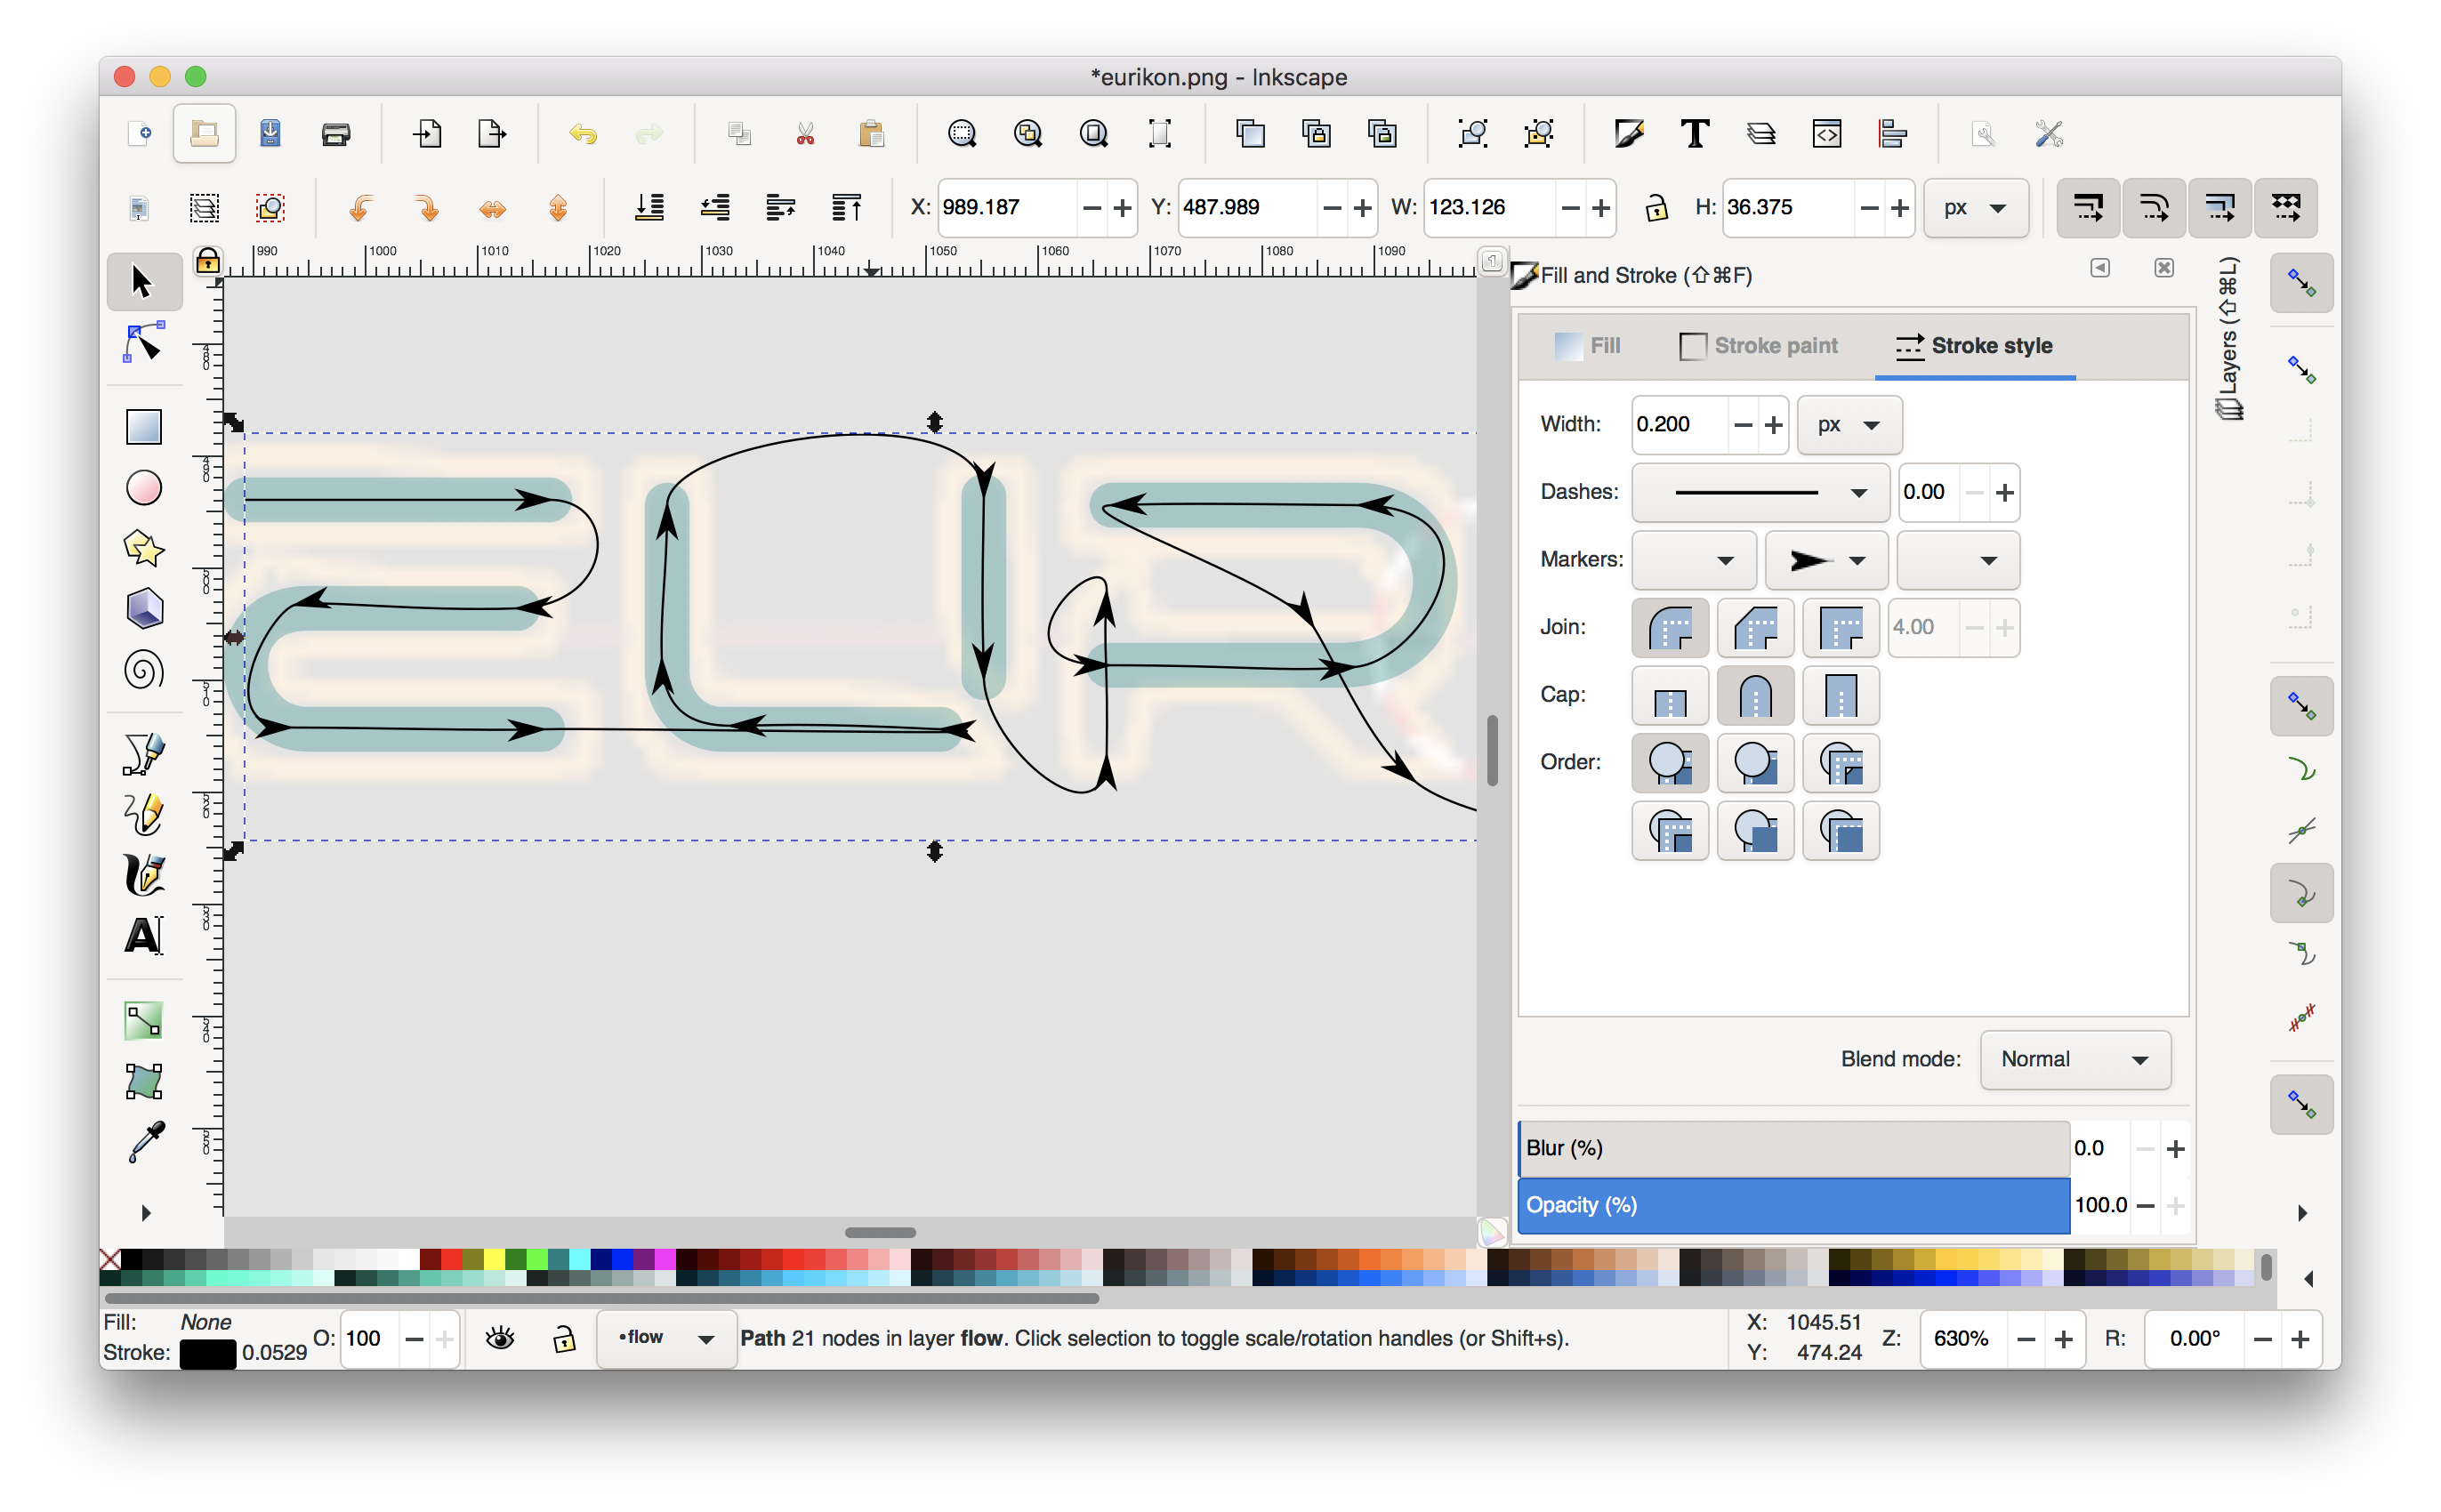
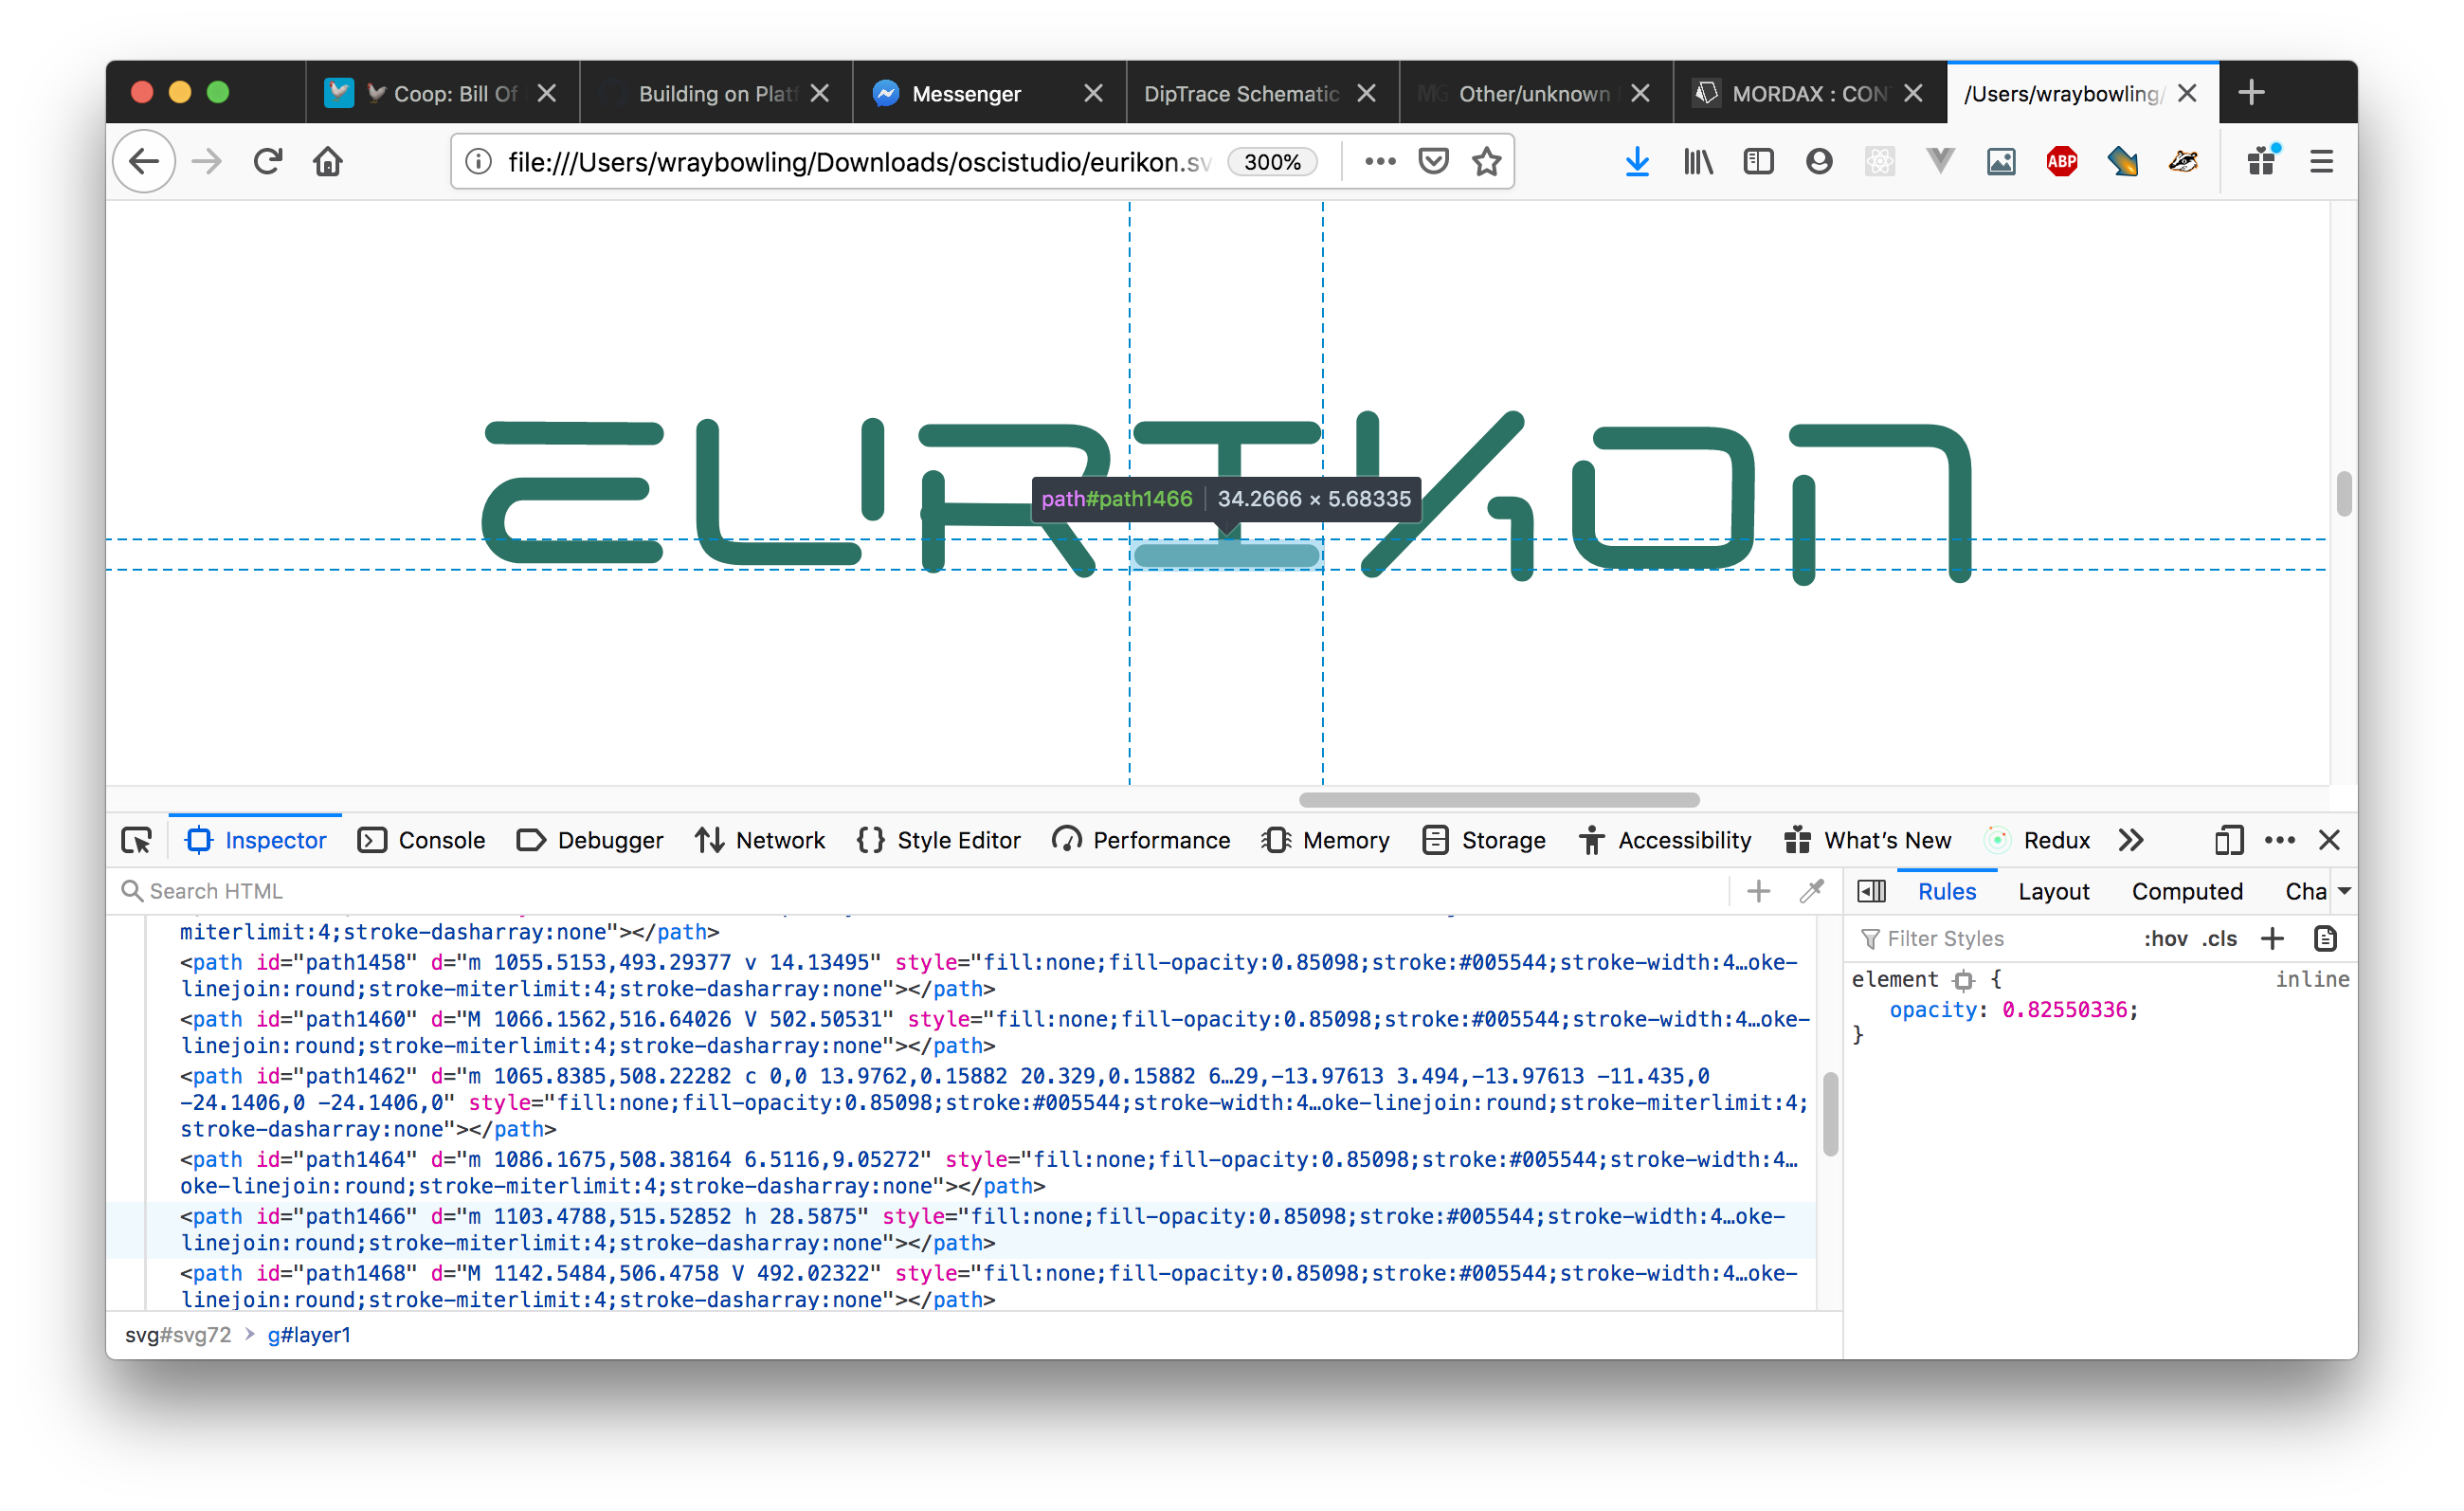
I been through the process of converting the logo into .svg format.
Then i imported the .svg into Blender, tried to make something of it in Blender, and then connected to OsciStudio.

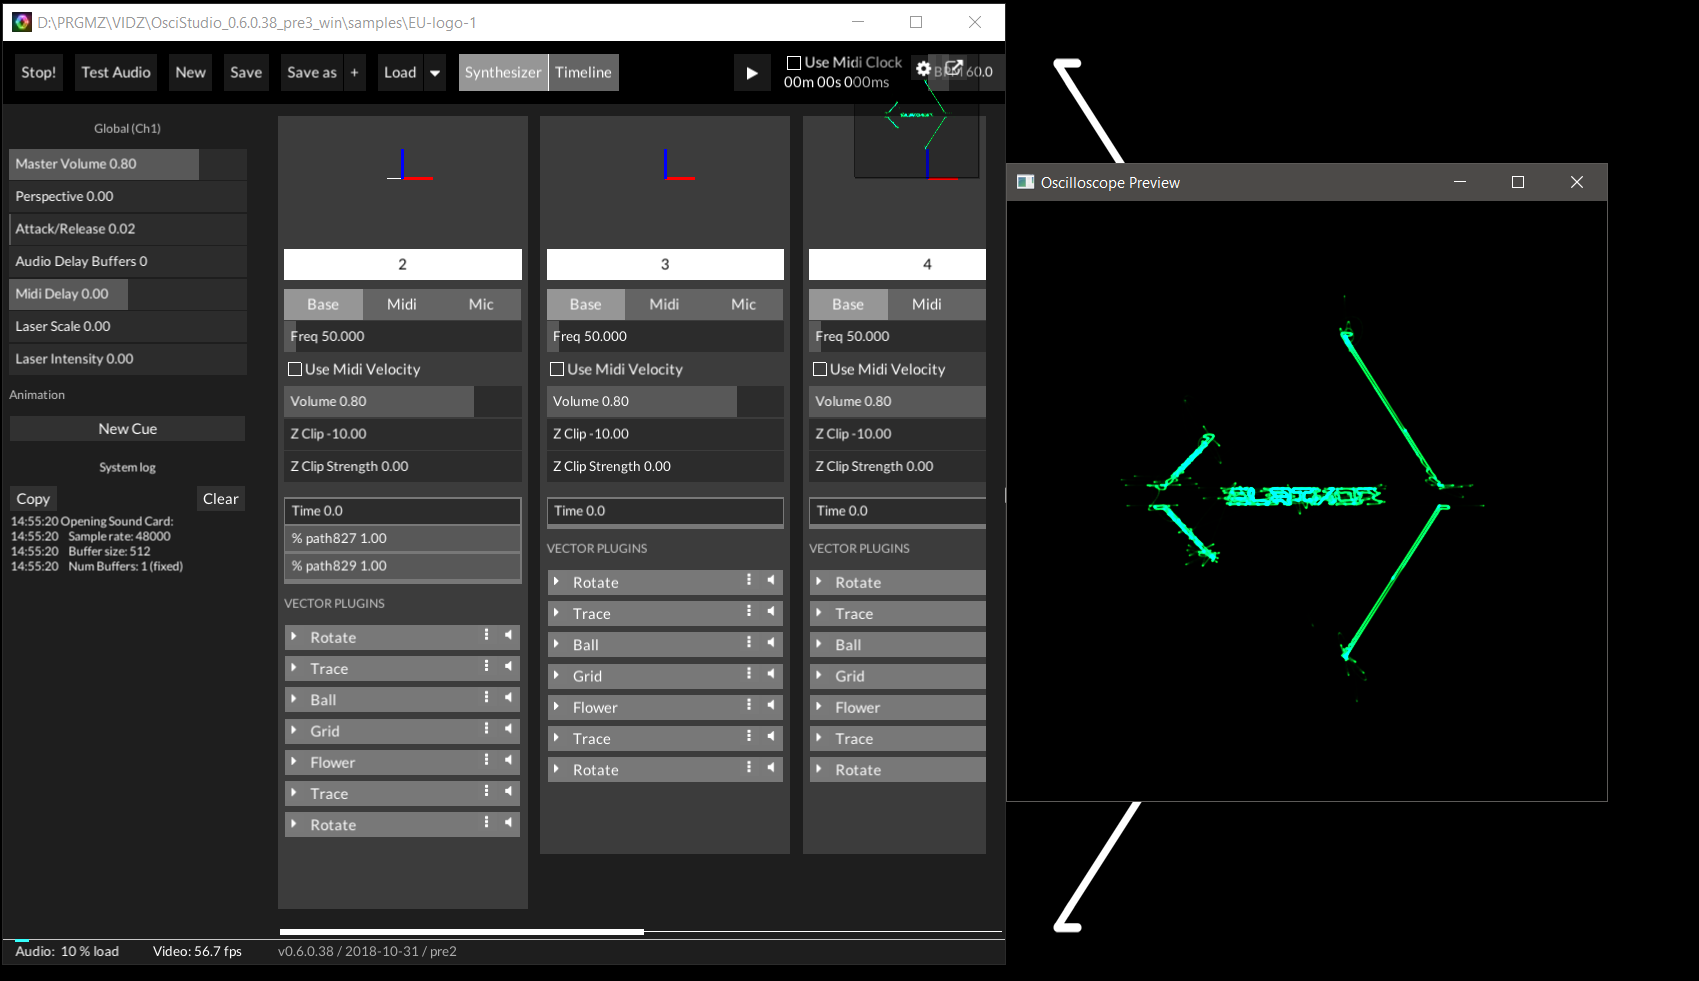
As you can see it is not very good readable.
I did not manage to make it into a good 3d object i guess, i tried but it is a bit way above my head :slight_smile:

Would someone be willing to take a look at the Blender object, and see if you can help me?


#2

Importing SVGs to blender can be twitchy. In blender, there is an option to simplify a curve, but you risk losing clarity.

One initial step would be to identify if the import is the issue, or the object->oscistudio connection. Does the object look clear in blender itself? If you play this at very low frequency, does it give you a good crisp visual?

If it’s just the static logo, consider importing it as a reference image, then trace it directly in blender yourself, to reduce the translation loss from SVG-Blender curve.

If these suggestions don’t help, drop a link to the .blend file and I can take a look.


#3

Thanks a lot for your reply and help! :slight_smile:

Yes in Blender it looks good, but only before i press the ctrl+j.

In this screenshot i have not pressed ctrl+j in Blender.

and the frequency in OsciStudio is set to 17 before it starts to flicker on and off.

I had not thought about this yet, i will have to find some tutorial on how to do this and try it out :slight_smile:
Thanks for the tip!

Thanks for all the help, i am fairly lost in Blender as i never use it before and its learning curve is quite steep :sweat_smile:
I will fiddle with it a bit more to see if i can get better results, and then report again.

So far i am already enjoying the mind blowing results:

But it will be even better when the characters are clear to read :slight_smile:


#4

In this screenshot i pressed ctrl+j in Blender.

and the frequency in OsciStudio is set to default 50.

(sorry for the double posting, i am not allowed yet to put multiple pictures in 1 post)


#5

Yeah, that looks to me like a lot of extraneous SVG import artifacts. You could spend time cleaning those up, but since your logo is all straight lines, you could easily just trace it with points and edges in blender. Looks like it would only be 300-500 vertices, very manageable for oscistudio.

Also, what sample rate are you using in oscistudio? If you’re only using 44.1 or 48k, you can get better results by increasing to 96k or 192k.

Learning blender is worth the time to get the most out of oscistudio, imo. If you look for tutorials, just focus on ‘modeling,’ as the rest of blender is irrelevant for this purpose.

Good luck!


#6

I think the best course of action would be to trace your logo as a thin paths. The fewer breaks, the better. What I mean by breaks is to think of how often the beam will have to jump from the end of one line to another. Roman letters are inherently difficult because they have a lot of breaks. Cursive on the other hand would be much simpler because many letters can share a single smooth stroke. Have a look at some of the graphics that have been created with oscilloscopes and you’ll see that the fewer lines the better and the more smooth they are the better. You need to go back and work on your logo’s “flow”.

Seen below is an example of what I mean. The order and direction of the paths matter even if there are jumps between lines. I’d trace your logo using single strokes, but FIRST draw a rough single line with arrow markers to decide the best pathway for the entire composition. The u-turn at the bottom of the U will give the oscilloscope a little ringing effect that will mimic a flourish of the original but in a different way.

After the flow was determined, THEN i drew the paths in the direction that the flow line dictates. The bottom of the U starts from the bottom so I clicked first at the bottom then drew up to the top so that when the beam is finished it leaps to the downstroke.

Before import, verify your work by opening the SVG in a web browser and inspecting the elements. I’d make sure that each shape is listed in the order you want. Then import into Blender. After importing your SVG, go into edit mode for all the shapes and scale them up. If they’re all in 3D mode you’ll see the direction arrows.


#7

Hi, and thanks a lot for your detailed explanation! :slight_smile:

Wow that looks so good what you did there!
Seems that i still have to do a lot of learning all the way from Inkscape.

Thanks again guys for the guidance :pray:t4:


#8

It’s not too different from bending neon tubes! In fact, if you can control the Z (the on-off of the beam) you can achieve even smoother lines using a single line that secretly bends around to the next section with the electron beam off switched off in exactly the same way neon signs have sections painted black. And yeah, it takes some time and attention.